If changes to group memberships appear to be ignored on a recent Linux system, even after logging out and then in, the likely reason is that the time between log out and log in was too short, and the user service did not terminate and restart. A system reboot will sort the problem, but could be seen as a bit of an overkill.
Much better is simply to wait longer before logging in again giving sufficient time for the user service to terminate, or explicitly restart the user service. Restarting the user service can in fact be used to log a user out:
This problem can be caused by not reading the correct device ID, in which case the 0xNNN above will be 0x000. Obviously those files do not exist. See solution here.
Another reason reason might be that STM32CubeProgrammer and STM32_Programmer_CLI try to use the incorrect (relative) paths. Some versions of the programs relied on using paths relative to the current directory and not the install directory.
A workaround is either to run the programs from the installation directory or symlink the missing files to a location where the programs try to look for them. The debug log messages give an indication for what these locations are.
The files actually are in the $(STM32Cube)/STM32CubeProgrammer/ Data_Base/ and $(STM32Cube)/STM32CubeProgrammer/bin/FlashLoader/ directories.
Mind you, I have only encountered this problem when trying to program STM32 clones, so an alternative solution may be to only use genuine ST devices purchased from reputable sources.
By default less will display colour escape codes directly and will not interpret them. Some programs will only output colour when running in a colour capable terminal; by default a linux pipe is not considered colour capable. We have to tell them explicitly to generate and process colour escape sequences:
Control + mouse scroll will adjust the font size, but not the overall scale of the display. This is especially annoying when at the default zoom level some of the text falls outside the the e-reader window:
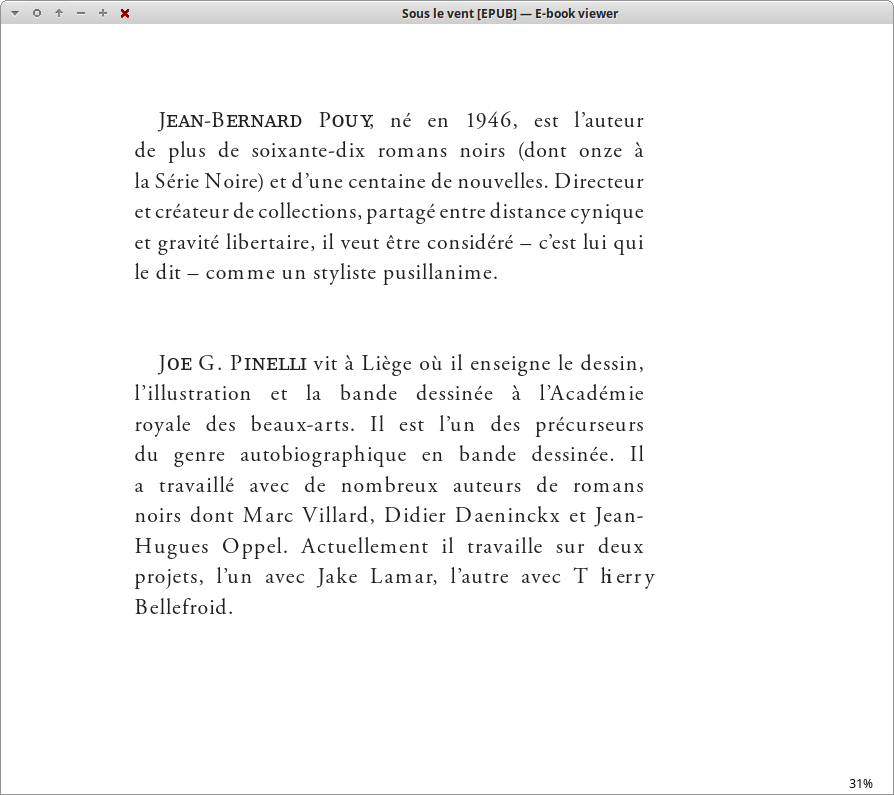
Cumbersome, but at least the text will become readable: CSS to the rescue.
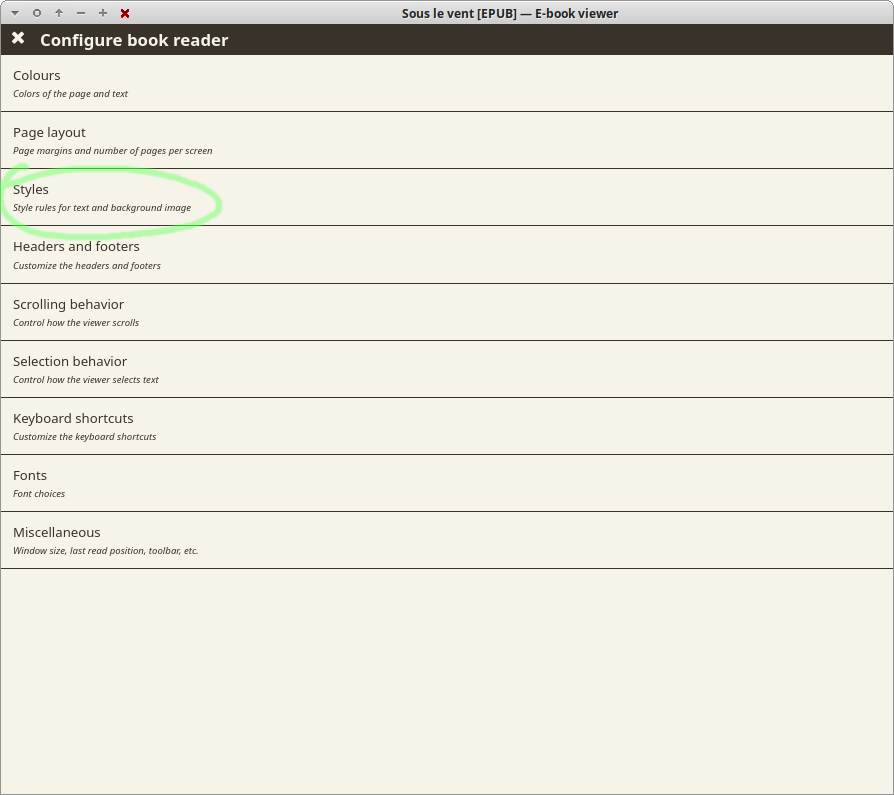
Right click in the reader window
Select ‘Preferences’
Select ‘Styles’
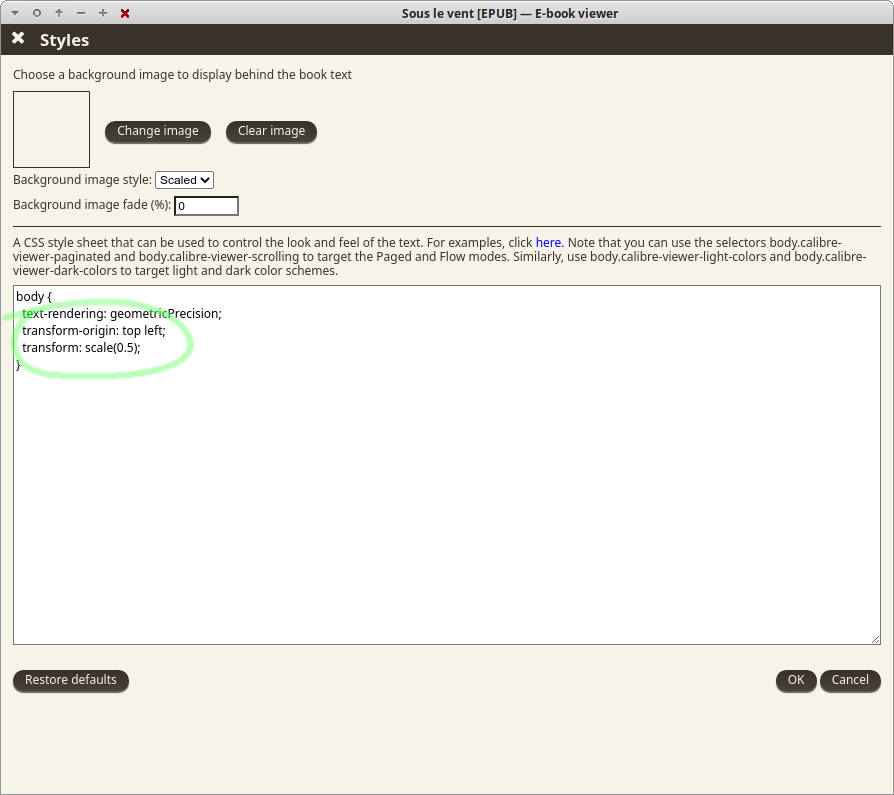
Add a new scaled body style in the text box
Click OK
Close the ‘Preferences’ menu
Start reading
The CSS properties added are:
body {
  transform-origin: top left;
  transform: scale(1.0);
}
Why this is not available via the GUI… ?
P.S. The new style is stored in .config/calibre/viewer-webengine.json
Although epub format e-books are simple ZIP archives, care has to be taken in how unzip and zip are used to manipulate them.
mkdir wrk && cd wrk
unzip -O UTF-8 old.epub
nano OEBPS/one_of_the_files.xhtml
zip -rX ../new.epub mimetype META-INF/ OEBPS/
Without using the -O option when unpacking UTF-8 file names are likely to get corrupted. For the repack, use of -X is required and the directory order in the archive has to be as given above, otherwise the epub file will not be recognised by most e-readers.
As an aside, modifications can be easily tested using a web browser. Each page in the e-book is represented as an xhtml document, which can be opened by pointing the browser to file:///home/user/wrk/OEBPS/one_of_the_files.xhtml (for example).
MECARD:N:Dr AN Other;TEL:+441234123456;EMAIL:AN Other <ANOther@other.org>;NOTE:Director;ADR:123 Other Street, London, A1N 2OT, United Kingdom;URL:https://other.org;
Generate the corresponding QR codes:
qrencode -t PNG -r text_for_QR_code.txt -l H -o QR.png
convert QR_2023.png QR_2023.jpg
qrencode -t ASCII -r text_for_QR_code.txt -l H -o QR_2023.txt
cat QR_2023.txt | sed 's/#/█/g' > QR_2023_utf8.txt
The Cisco Secure Client / AnyConnect VPN Client for Linux is available from the OUCS Software downloads page for Linux; see release notes for details.
Unpack the downloaded file using an archive manager or type tar -xzvf filename from a terminal window (replacing filename with the file’s name).
In a terminal window, navigate to the newly created directory beginning ‘cisco’, then to the vpn directory.
Start the installation by typing sudo ./vpn_install.sh
Connect:
To start the client: • Select Cisco Secure Client from the Applications menu. or • Type vpnui at the command line in the installation directory (for Ubuntu and Debian this is /opt/cisco/secureclient/bin/).
Provide vpn.ox.ac.uk as the VPN server, then click Connect.
Provide your Oxford username in the format abcd1234@ox.ac.uk and your Single Sign-On (SSO) password.
Provide your TOTP 2FA token.
Disconnect:
Select the VPN icon in the system tray.
Select Disconnect.
Advanced settings:
The Cisco AnyConnect VPN client requires an SSL tunnel (TCP port 443) and optionally a DTLS tunnel (UDP port 443).
VPN clients contact the VPN servers in the netblock 192.76.7.64/27.
VPN clients will be given an IP address from the private IP ranges of 10.1.32.0/20 or 10.10.64.0/18. These private addresses will be mapped to a public IP in the 129.67.116.0/22 netblock by the use of dynamic PAT.
Ubuntu is providing more and more software, including chrome, as snap packages. As a result I may actually end up moving away from ubuntu / xubuntu after many years as a happy user, but that is an other story. For the time being, here is an alternative way to install the non-snap deb package:
How to Install Latest Firefox as classic Deb in Ubuntu 22.04 | UbuntuHandbook
https://ubuntuhandbook.org/index.php/2022/04/install-firefox-deb-ubuntu-22-04/

How to Install Firefox as a .Deb on Ubuntu 22.04 (Not a Snap) - OMG! Ubuntu!
https://www.omgubuntu.co.uk/2022/04/how-to-install-firefox-deb-apt-ubuntu-22-04